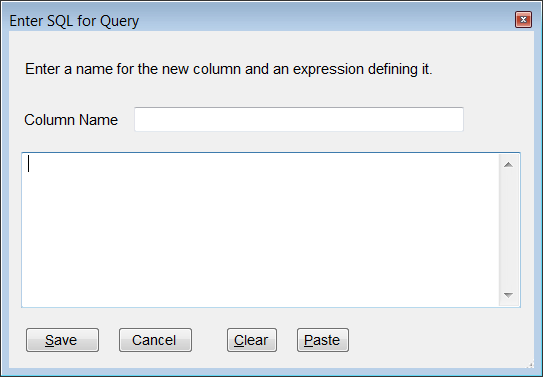
The following screen is where you enter the field name and definition:

You can use any name for the column as long as that name is not already used in the column list. Names cannot contain any of these characters: ” ‘ : ; , . [ ] <>
Expression is any valid SQL column expression and can also be an Excel formula, as described in the next section. The simplest form is “a – b” or “a + b”. You can use functions such as SubString for string values or operators such as Case for defining condition values. If a column name is not in the list of selected columns, enclose it in square brackets so that FinJinni knows to include it when it generates the query.
This feature can be used to add alias names to existing columns. Just enter the existing column name as the definition for the new column.
Note: You should define these fields after you select the proper query template. If you change templates to a new template with a different column list, your custom field definitions are cleared. If your expression is complex, you may want to save these definitions in a text or spreadsheet file so you can easily restore them. You can also use the Save as User Template button to save your query so that you do not need to re-enter it.
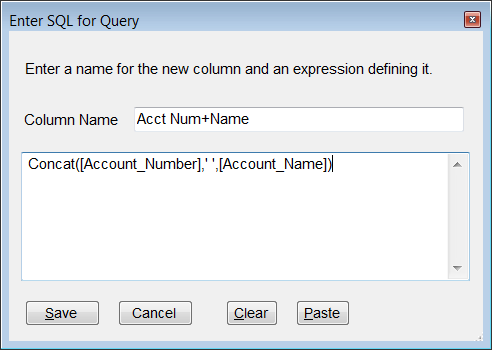
For example, if you want to use the account number plus name without the hyphen that FinJinni inserts, you can define a new column this way:

Using Excel Formulae in Custom Columns
If you start the expression with “=”, it will be interpreted as an Excel formula and inserted in the column. This formula can reference other columns present in the query by enclosing them in square brackets. E.g. if the query has columns “2020” and “2021”, you can create an Excel formula in a third column to show the difference by entering:
=[2021]-[2020]
While many calculations such as this can be created as SQL expressions, some cannot, particularly when using trend or comparative reports. Using an Excel formula provides an alternative. You can also use a lookup that references another worksheet, e.g. using the “Company_ID” column from the query:
=VLOOKUP([Company_ID],My_Company_List,2,0)
Adding Values to Subtotal Lines
When you use subtotal lines on a query, you can also add custom values or calculated fields to the columns on the subtotal lines. Normally, Excel subtotal lines only contain the name being subtotaled and the total values. To add additional values, define a new custom column and use this syntax:
+total:value1:value2
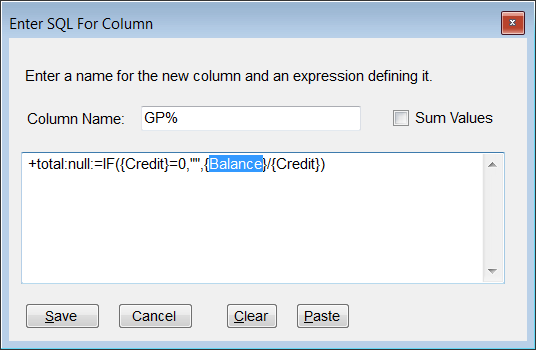
“+total” is a special keyword that FinJinni recognizes. “value1” is the value or SQL expression to be used on data rows. “value2” is a value or Excel formula to be used on subtotal rows. For a formula, use the standard “=” prefix for Excel. You can use column names in this formula by enclosing them in braces (“{column}”). For example, to add a percentage only to subtotal lines when there are existing Balance and Credit columns, use this definition:

A tip: Since this definition is converted to a standard Excel formula, you can also use a formula such as this to refer to the line above the subtotal line:
+total:Inventory_Site:=INDIRECT(ADDRESS(ROW()-1, COLUMN()))